One of the great features of running Windows 2022 Virtual Machines (VMs) in Azure is that you can log into them using Entra ID (Azure Active Directory). However, if you deploy a new VM and simply try to log into that VM with the Remote Desktop application (RDP), you’ll be presented with the error message from RDP which says, “The Target Identifier in the Request was not Found in the Tenant”. Thankfully this error
message is easy enough to fix, but there are a few steps that you’ll need to take.
Fix DNS
The first step is to add the machine to DNS. If your VM has a Public IP Address (I don’t recommend having one), then you’ll need to add an entry to public DNS for your name for the VM. So if your public domain name is “company.com,” and the VM is “VM1” and the IP address is 14.10.25.32, then you need to create a public DNS “A” record for vm1.company.com pointing to 14.10.25.32.
If you do not have a Public IP Address on the VM (this is the recommended configuration for all VMs), then you need to add the VM to your Internal DNS. In your internal DNS (I’m assuming Active Directory DNS here), you’ll need to add an A record to the internal domain (we’ll assume company.local for this post), which points to the Private IP Address of the VM. So if the Private IP address of the VM is 10.0.0.5, you’ll need to add a record to your internal DNS for VM1, which points to 10.0.0.5.
DNS Suffix within the VM
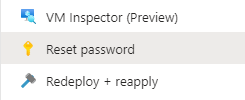
This is the annoying settings change; you need to log into the VM using the administrator credentials you set during the VM creation. If you don’t remember the password for this account that you set, that’s fine; you can reset that in the Azure portal by using the “Reset password” widget in the portal.
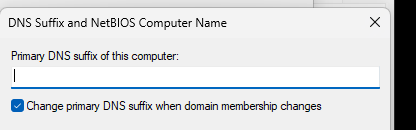
To change the Primary DNS Suffix, click start and search for “Advanced System Settings” after logging onto the VM. That’ll bring up the “System Properties” control panel application, and it’ll be on the Advanced tab. Click on the “Computer Name” tab, then click the “Change” button like you were going to change the computer’s name. On the Computer Name change window, click the “More” button. This will open the DNS Suffix and NetBIOS Computer Name window. In this window, enter the DNS domain name of the internal domain (if there is no public IP Address) or the Public domain name if there is a public IP address. If there is no Public IP Address of the VM, you will put “company.local”. If there is a public IP address, and we’ll be connecting via the public IP address, we would put “company.com”.
*If your public DNS name and your internal DNS name are the same, just enter the DNS name here.
Click OK all the way out, and reboot the VM when prompted.
I don’t know why, and I haven’t had time to look at it, but don’t use the PowerShell below. It didn’t work the last time I just tried it.
If you want to set up a script in Microsoft Intune that sets this value automatically, you can do that. The PowerShell to set this setting is:
Set-ItemProperty -Path HKLM:\SYSTEM\CurrentControlSet\Services\Tcpip\Parameters -Name 'Domain' -Value 'company.local'
IAM Permissions
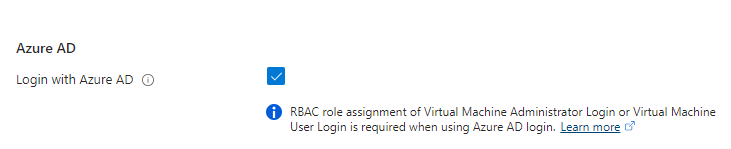
Logging into a Virtual Machine in Azure using Entra ID (Azure Active Directory) requires setting IAM Permissions for the VM as well. The user or group of users that need to be able to log in to the VM needs to be granted rights in the “Access control (IAM)” blade in the Azure portal for the VM (or the resource group or the subscription).
There are two different permissions that you can grant depending on what rights the user should have within the VM. If the user should be an administrator within the VM, then grant the user the “Virtual Machine Administrator Login” to the VM. If the user should be a regular user, then grant the user the “Virtual Machine User Login” to the VM.
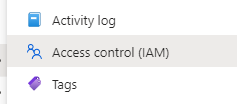
To add the user to either of these groups, navigate to the VM within the portal. then select the “Access control (IAM)” blade. Then click the “Add” button (which is actually a drop-down) and select “Add role assignment”.
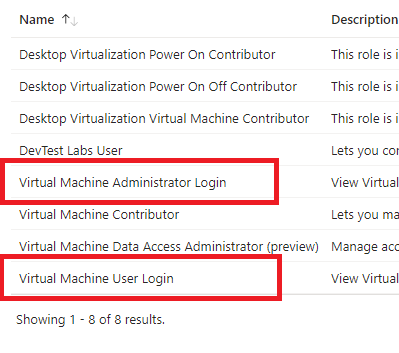
Under the “Job function roles” tab, search for “virtual machine”, and you’ll see several menu options. You don’t care about several of these right now. (I took this screenshot in December 2023 in a subscription that I’m the owner of. Depending on your permissions and how far in the future you are from 2023, you may see more or fewer options). The two that you care about are the ones which are highlighted in Red which are “Virtual Machine Administrator Login” and “Virtual Machine User Login”. Select the correct role for the user, then click the “Members” tab at the top of the blade.
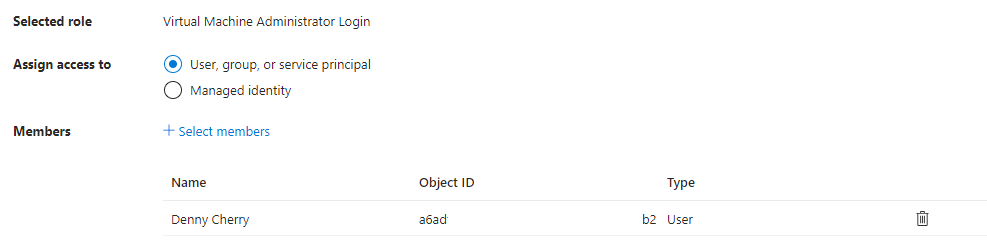
On the “Members” tab, select the user or users who will have the role membership that you just selected. Once this is done select the “Review + assign” button at the bottom of the page, then click the button a second time after reviewing the changes which are to be made.
RDP Client Change
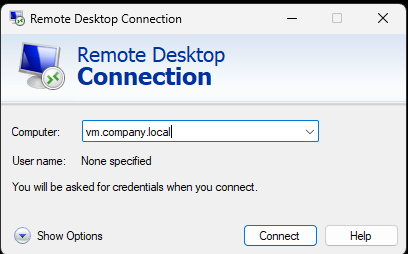
The final change you’ll need to make is to the RDP client. Start the remote desktop client (mstsc.exe) and put the DNS name of the computer in the computer field.
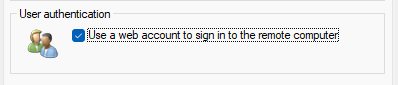
Then click the “Show Options” menu at the bottom. This will make five different tabs appear. You want to then select the “Advanced” tab on the right. On this tab, check the box at the bottom within the “User authentication” section that says, “Use a web account to sign in to the remote computer”.
After this box is checked, you can connect. Instead of using a traditional Active Directory username and password, you’ll be prompted for your Entra ID (Azure Active Directory) account information. Once you enter your information and go through Multi-Factor Authentication as needed (I had to go through authentication twice for some reason), you should be connected to the VM as normal.
Denny